|
|
chrome kronos
|
 |
|
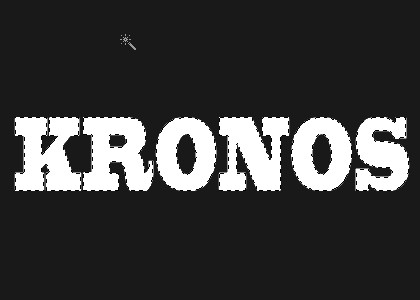
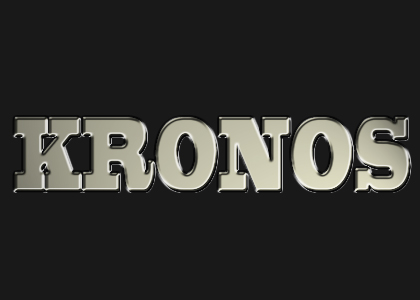
Create a new file and position your text.
|
 |
|
Control + Click on your type layer to load the
selection. Select > Save Selection > Name-It-Whatever-You-Wish
(Alpha 1 is the default name). Rasterize the type layer.
|
 |
|
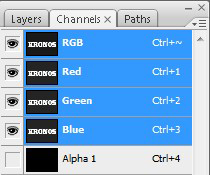
Switch over to the Channels Palette and click
once on the Alpha Channel. Next, Filter > Gaussian Blur > 2.
|
 |
|
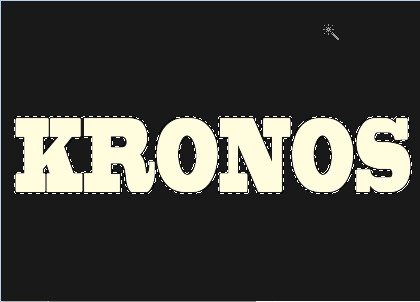
Switch to the Layers Pallet. Make sure the Type
Layer is active. Select > Load Selection > Alpha One.
|
 |
|
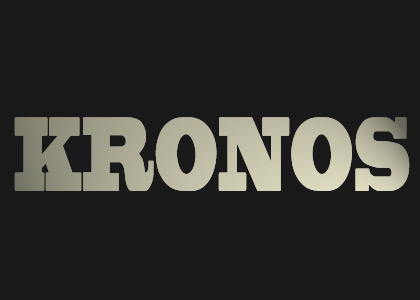
Filter > Render > Lighting Effects. Here
you can experiment to your own heart's content. Recommended is
choosing Alpha One from the drop-down menu and check the "White Is
High" box.
|
 |
|
Filter > Render > Lighting Effects---and
our result.
|
 |
|
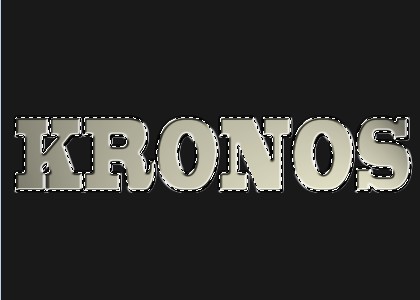
We used the Magic Wand Tool to select each letter
and used the Image > Adjustment > Curves settings from the
Chrome Type tutorial.
|
 |
|
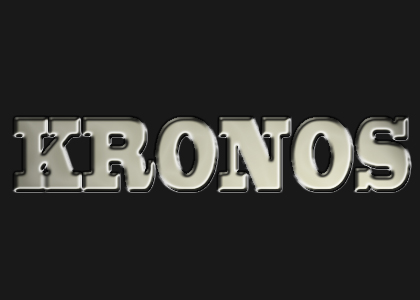
After the curves are properly applied.
|
 |
|
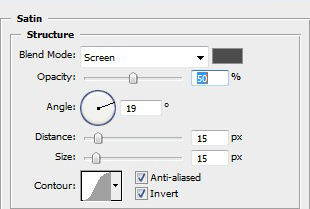
The Satin settings at left provide a brief hint
of color for our tutorial.
|
 |
|
A final Gaussian Blur using a setting of 2.2 and
we're done.
|
|
|


