|
|
clipart sketch
|
 |
|
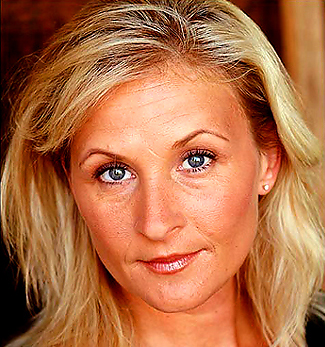
The model from the border tutorial returns in a sketch role. Open your image in RGB mode.
|
 |
|
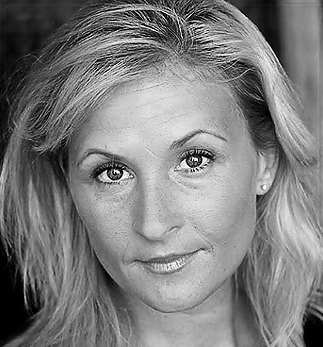
Image > Adjustments > Grayscale to
desaturate.
|
 |
|
Ctrl + J to place the image on its own layer.
|
 |
|
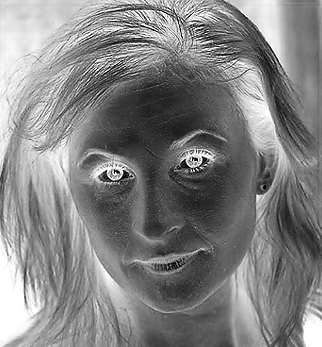
Select the second layer and Images >
Adjustment > Invert (Ctrl + I). Go to Blending Options and change
to Color Dodge.
|
 |
|
The image now contains far too much white. To
bring out the detail, utilize Filter > Blur > Gaussian Blur.
Shown is a setting at 4.8.
|
 |
|
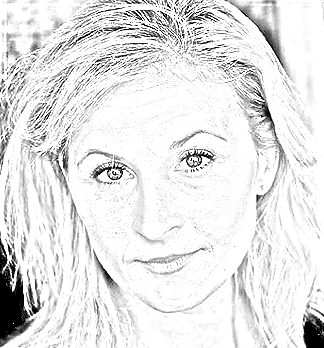
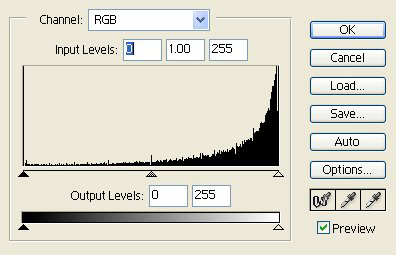
TYou can stop right there --or-- access Layer
> New Adjustment Layer > Levels. Utilize the default settings.
At the initial screen, change the blending mode to Soft Light.
|
 |
|
The final result using the level adjustment
layer. The model's features are slightly lighter and less prevalent.
|
|
|


