pagerunners.com logo


A friend of mine told me to shoot first and ask questions later. I was going to ask him why, but I had to shoot him. (John Wayne)
pixel spacer
 image enhancements II


Contrast Masking:
1. Create a duplicate layer of the background layer.
2. Desaturate the image (Image > Adjustments > Desaturate).
3. Inverse (Ctrl-I).
4. Change blending mode of the duplicated layer to "Overlay."
5. Set opacity from 20 to 50 (depending on the overall look you wish to achieve).
6. Use Gaussian Blur (Filters > Blur > Gaussian Blur) with the radius around 10-20%.

Bringing some details out in shadows:
1. Select the background layer.
2. Ctrl + Alt-"~" to select highlights.
3. Ctrl + J to create another layer with the selection intact.
4. Change blending mode of the layer to "Screen."
5. Change opacity of the layer as needed.

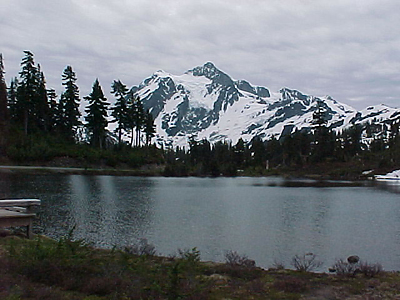
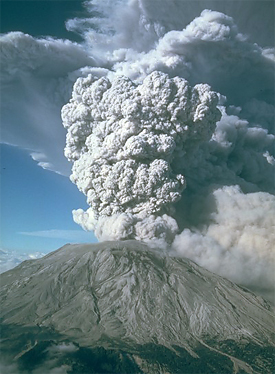
Adding/Removing color cast: Here, we are removing some of the blue haze in the Mount St. Helens photograph. 
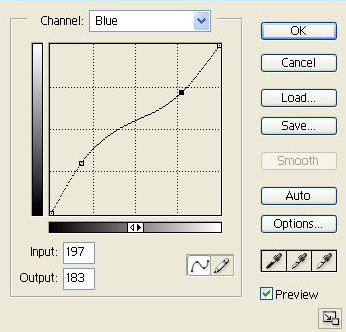
Access Image > Adjustment > Curves. Select a color in the upper dropdown list (in this example, Blue). Click on the curve line and drag the point to change the color balance. You can make several points on the line to make a curve and change the color cast either in highlights or shadows by modifying a part of the line.

Adding/Removing contrast:
Access Image > Adjustment > Curves. Select the entire range of colors (RGB). Make an "S" shape curve by dragging two or more points. The steeper the curve the more contrast the image will have.