|
|
on the (metal) menu
|
 |
|
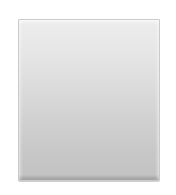
Create a new 200 x 200 document in RGB mode,
double-click on the background to turn into an editable layer and
fill with white. Create a new layer and name it Menu. Use the
rectangle tool and create a 160 x 140 selection and fill it with
black. Now add the following layer styles to the Menu layer.
|
 |
|
Drop shadow: Blend Mode > Multiply, Opacity
> 75%, Distance > 1, Spread > 0, Size > 1.
|
 |
|
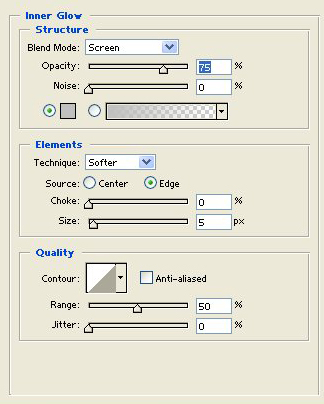
Inner Glow: Blend Mode > Multiply, Color >
C0C1BF, Opacity > 75%, Size > 5.
|
 |
|
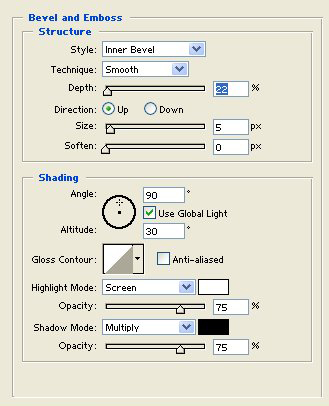
Bevel & Emboss: Style > Inner Bevel,
Technique > Smooth, Depth > 22.
|
 |
|
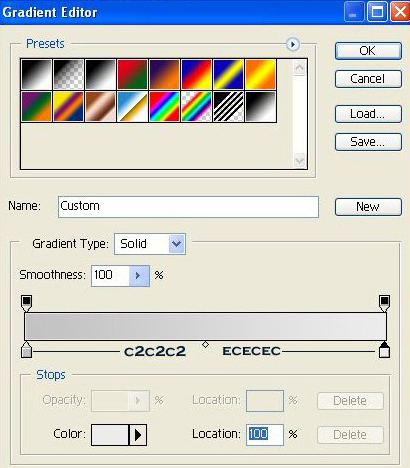
Gradient Overlay: Default styles & first
color stop > #c2c2c2, second color stop > #ececec.
|
<
 |
|
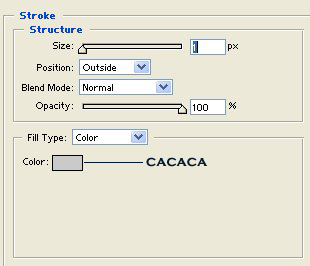
Stroke: Size > 1, Color > #cacaca.
|
|
|
Utilize the following settings, or any
combination to your particular liking: Drop shadow: Blend mode >
Multiply, Opacity > 75%, Distance > 1, Spread > 0, Size
> 1, Inner Glow: Blend Mode > Screen, Opacity > 75%, Size
> 2, Gradient Overlay: Blend Mode > Normal, first color stop
> 194163, second color stop > 123456, Stroke: Size > 1,
color > 000000.
|
 |
|
|
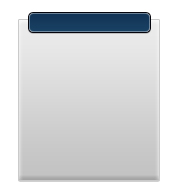
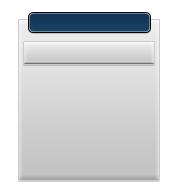
Now all we need are the navigation buttons. Add a
new layer and use the rectangular marquee tool and draw a selection
at the top of the menubar as shown (feather: 4 pixels).
Create a
new layer to add the navigation buttons. With the rectangular
marquee tool, draw a 130 x 22 selection and use the same settings as
were utilized on the menu layer (see above).
|
|
|
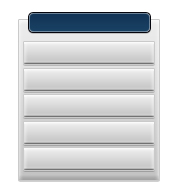
When finished, duplicate the button layer and
place as needed. I found it easier to add a new layer and then add
the text to each individual button.
|
|
|