|
|
boxed content
|
 |
|
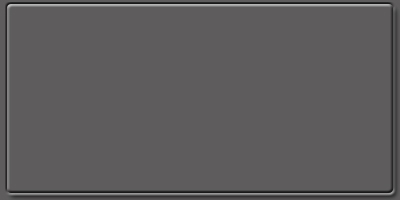
Create a new file size: 400 x 200. Fill with the
background color of your choosing (you can always change it later).
Add a new layer. Use the rounded rectangle tool to draw a selection
close to the edges of your new creation.
|
 |
|
Go to: Layers > Style > Blending Options.
Use Drop Shadow at the default settings. Use the default settings
for Bevel & Emboss, except for changing the blend mode to
Pillow Emboss.
|
 |
|
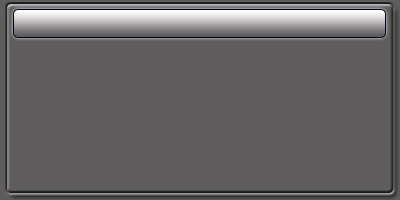
Add a new layer. Draw another rectangular
selection at the top of the box and utilize settings to your liking.
In this case, we used: Drop Shadow at the default settings and
Stroke > 1, Color > #000033. Then we used The Gradient Overlay
settings as follows: Blend Mode > Luminosity, first color stop
> #E71919.
|
 |
|
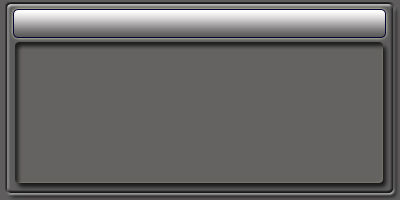
Add a new layer. Draw another selection with the
rectangular marquee tool to within a few pixels of the inner edges
of your image. These settings will make the rectangle stand out:
Inner Shadow > Blend Mode > Multiply, Inner Glow > Blend
Mode > Normal > Opacity > 15%, Drop Shadow > Blend Mode
> Multiply.
|
 |
|
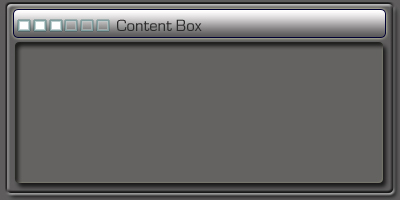
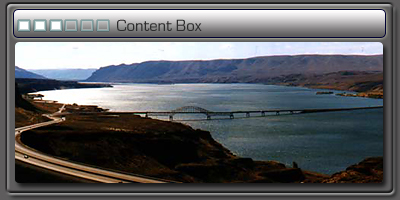
Just to be fancy, we'll add a new layer, draw a
small rectangle on the top bar, fill with white, add a border and
fill that border with green at 50% opacity. Hold down Shift + Alt +
Control and drag as many as you wish off to the side. Then, adding a
little text with the default Filter > Chrome settings makes for
a nice heading.
|
 |
|
The finished product with The Columbia River
Gorge as the backdrop.
|
|
|


