|
|
fire it up
|
 |
|
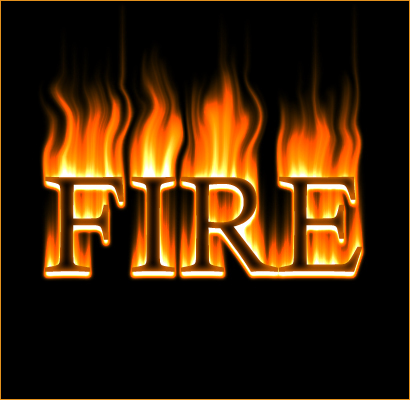
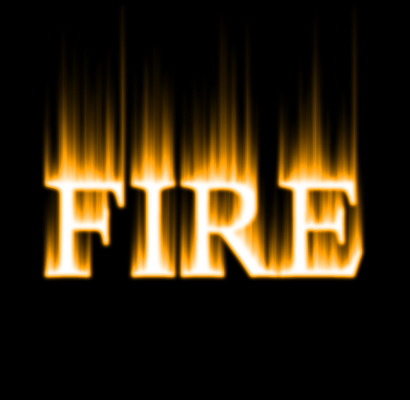
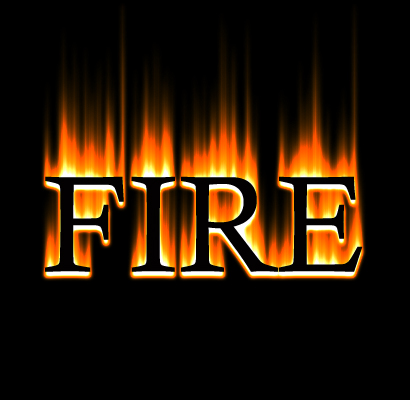
The intended result of our fire tutorial. Open a new image and fill with black.
Create and position your white text. Make sure to leave ample room
at the image top for the flames.
|
 |
 |
|
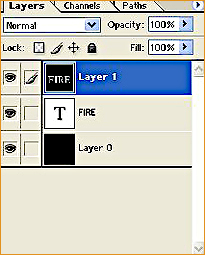
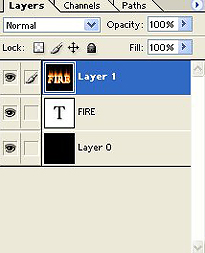
Duplicate the text layer (Layer > Duplicate).
Create a new layer and fill with black. Now arrange the new layer
so it is in-between the original text layer and the copied text
layer, as shown. Select the copied text layer and press Cntrl + E to
merge the layers.
|
 |
|
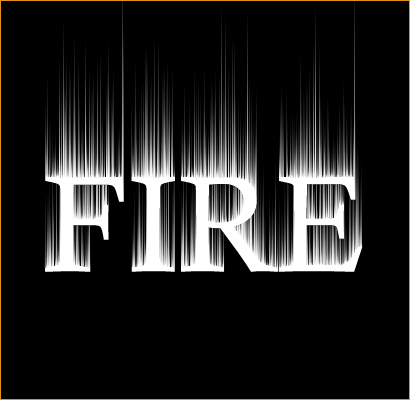
Edit > Rotate Canvas 90 degrees
counterclockwise. Under Filter, utilize Filter > Stylize >
Wind using the default settings three times.
|
 |
|
Rotate the image back 90 degrees clockwise.
|
 |
|
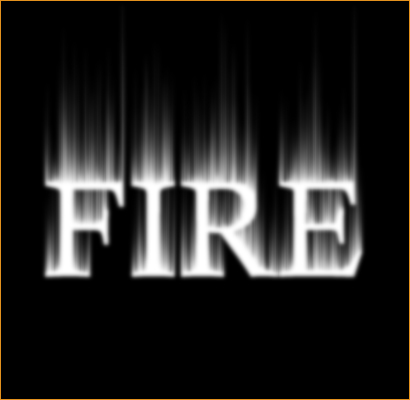
Filter > Blur > Gaussian Blur with a 2.0
setting. This setting will create better flames at the end of this
tutorial. Which, of course, is what we all want.
|
 |
|
Now to add some color: Image > Adjustments
> Hue and Saturation with the settings: Hue at 40, Saturation at
100, Lightness at 0.
|
 |
|
Duplicate Layer 1. Add some color to the
duplicated layer: Image > Adjustments > Hue and Saturation
with the settings: Hue at 0, Saturation at 100, Lightness at 0.
Change the blending mode of this layer to Color Dodge.
|
 |
 |
|
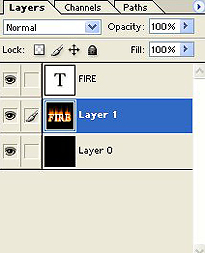
With the duplicated layer (layer one) still
active, press Cntrl + E to merge the layers.. Move the original
text layer to the top of the layer pallet.
|
 |
|
The result of changing the blending mode and
merging the layers. With a few more steps, the flames will look much
more realistic.
|
 |
|
Highlight the text layer and change the text
color to black, which will make the text stand out much better
against the flames backdrop.
|
|
|


