|
|
(a matter of) perspective shadow
|
 |
|
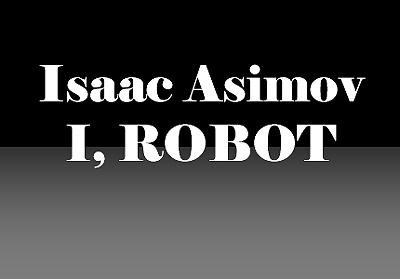
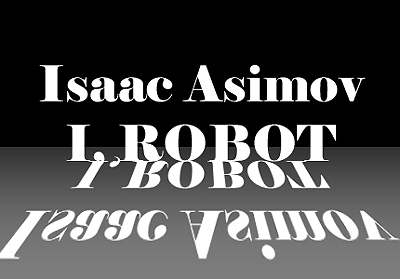
Create a new file and your type. As an option
here, we filled the top half with black and the bottom half with
gray (with a slight gaussian blur).
|
 |
|
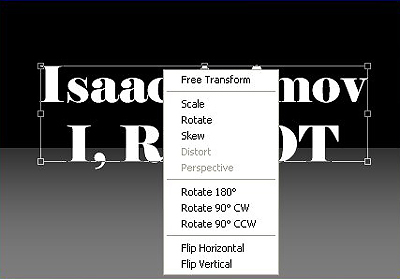
Duplicate the type layer (Control + J). Press
Control + T to bring up the Free Transform box. Right click and
choose Flip Vertical. Don't press Enter just yet.
|
 |
|
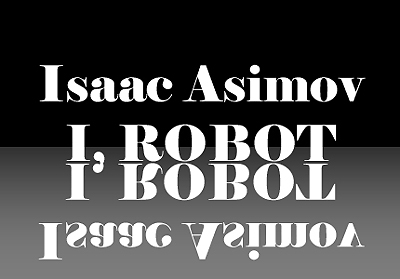
Drag your flipped type layer downwards until the
top of the flipped image is almost touching the bottom of the
original type layer. Press Enter and then access Layer >
Rasterize > Type to turn the layer into an image.
|
 |
|
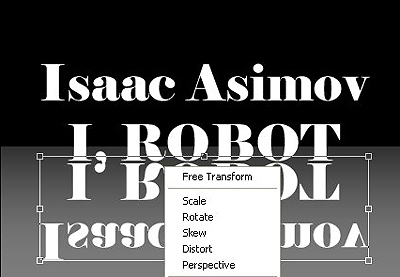
Press Control + T again for FreeTransform, right
click and choose Perspective. Grab the lower right or left handle
and drag outward to create the desired effect.
|
 |
|
Grab the top left or right adjustment handle and
drag inward. When you are satisfied with the overall look, press
Enter.
|
 |
|
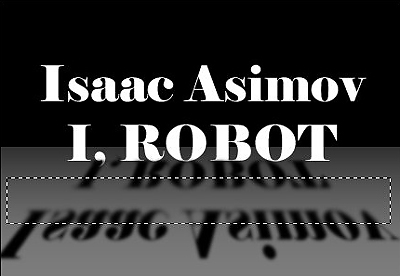
Fill the flipped type layer with black. Access
Filter > Blur > Gaussian Blur at at setting of 1.5 to 2.0 to
soften the shadow.
|
 |
|
Select the rectangle tool and draw a selection as
shown. We are going to use the earlier Gaussian Blur setting on our
new selection.
|
 |
|
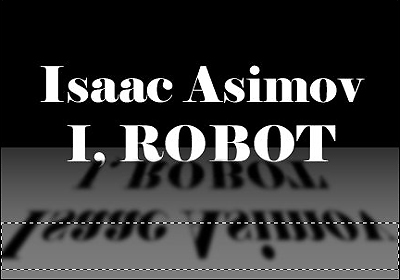
To soften the shadow a bit more and make it look
more realistic, draw another selection towards the bottom of the
flipped layer and use Gaussian Blur once again.
|
 |
|
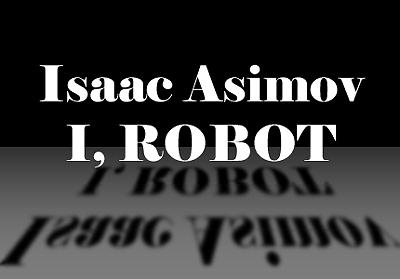
The finished product. To move the layer slightly,
Control + Click on the layer and place where desired.
|
|
| 


