|
|
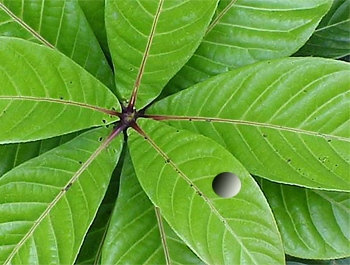
waterdrops on the leaf tops
|
 |
|
In Photoshop, open the image that could use water drops. We are going to be using quite a few
palette and blending options and later, the liquify tool.
|
 |
|
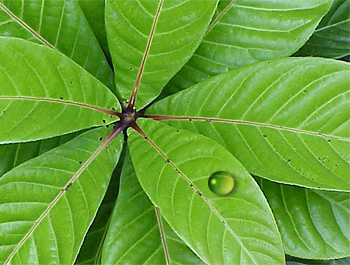
Make a new layer. Use the Elliptical Marquee Tool and make a selection on the new layer. You do not have to
draw a perfect circle; what water drop in nature is a perfect shape?
|
 |
|
Next, choose the Linear Gradient Tool and draw from the upper left to the lower right of the image, until
you have an approximation of what you see here. Deselect.
|
 |
Change the blending mode of the layer to Overlay. The selection then becomes mostly clear. Using the brush
tool with a setting of 6 and color set to white adds a nice touch.
|
 |
Now it is time to add the special effects. From the bottom of the layers palette, choose drop shadow with
the following settings:
- Blend mode: Multiply
- Opacity: 50%
- Angle: 153
|
 |
For a better overall effect, use inner shadow with the following changes: Angle of 153, Distance of 2. For a
little extra, utilize Inner Glow with Blending Mode set to screen and the default color changed to black.
|
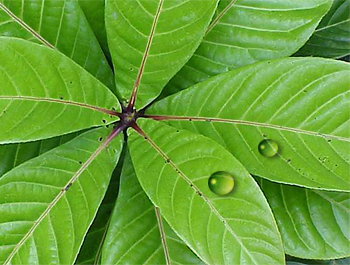 |
Duplicate the layer and use Edit > Free Transform to add a new and smaller (or larger) water drop.
|
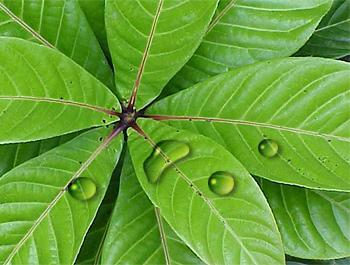 |
Here, we have duplicated the layer once again and utilized the Liquify Filter (Filter > Liquify) and the
Forward Warp Tool to make a myriad of different shapes.
|
|
|


